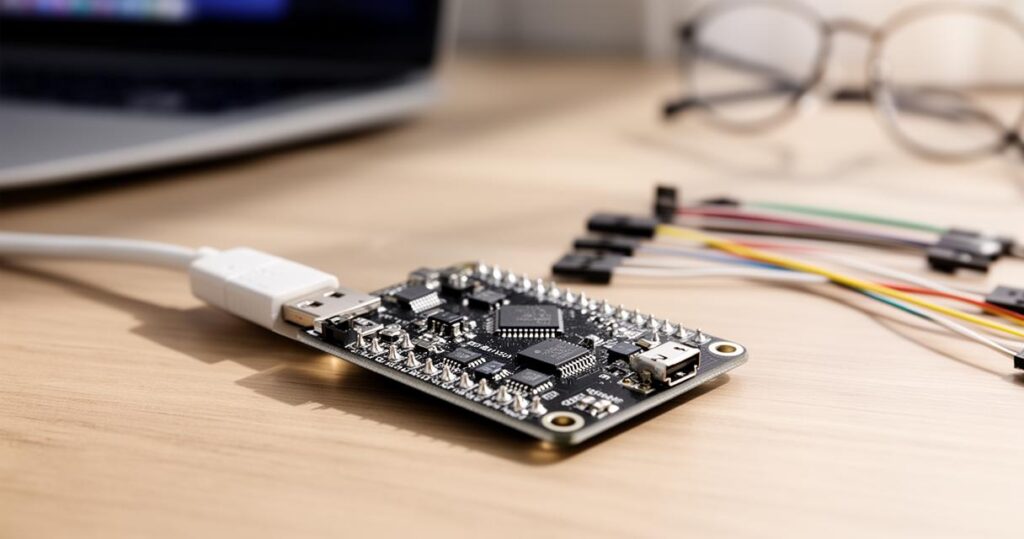
Getting reliable power to an Arduino or NodeMCU board is one of those things that looks simple until your LEDs start flickering or your relay refuses to click on. Whether you are running a straightforward sensor project or a small automation system with pumps, buzzers, and multiple sensors, understanding how power flows through your board and its accessories makes all the difference between a stable build and a frustrating one. This guide walks through the main ways to power an Arduino, when to reach for a battery or an AC adapter, and how capacitors can rescue a circuit that keeps dimming or misbehaving under load.
In brief
- USB power is convenient for testing, but its current limit of around 250mA often causes performance issues when driving power-hungry components like pumps or buzzers.
- Using the dedicated power jack with an AC adapter allows for higher current delivery, provided the input voltage remains within the recommended 7V to 12V range.
- The Vin pin provides an alternative power input method, but users must verify board-specific documentation as voltage handling varies between models like classic Arduinos and NodeMCUs.
- Battery-powered projects require careful capacity planning to ensure the power source can handle both the idle state and the current spikes generated by peripheral modules.
- High-current components such as motors and relays should ideally be powered by an independent source to prevent voltage sags that can cause logic errors in the microcontroller.
- Capacitors help stabilize power rails by providing a short-term current reservoir to smooth out voltage dips caused by component switching.
- A combination of electrolytic capacitors for bulk energy storage and ceramic capacitors for high-frequency noise suppression is an effective strategy for stable power delivery.
Fundamental arduino power supply methods and voltage requirements
USB Powering Options and Their Limitations for Basic Projects
The most familiar way to bring an Arduino to life is plugging it into a computer via USB. This method is brilliant for uploading sketches and monitoring serial data whilst testing, and it supplies a steady 5V that most boards expect. However, USB power comes with a ceiling. A typical USB port, and by extension many onboard voltage regulators, cannot comfortably push much beyond 250mA to peripheral devices without strain. This becomes a real headache once you start adding a water pump, an active buzzer, or several LEDs to a board such as the Lolin V3 NodeMCU. The moment one component draws a burst of current, everything else connected to the same rail can dim or fluctuate, and sensor readings often become unreliable. This is a classic symptom of USB power limitations rather than a fault in your code, and it is worth remembering when a project behaves perfectly on the bench but stutters once fully assembled.
AC Adapter and Power Jack Integration for Advanced Applications
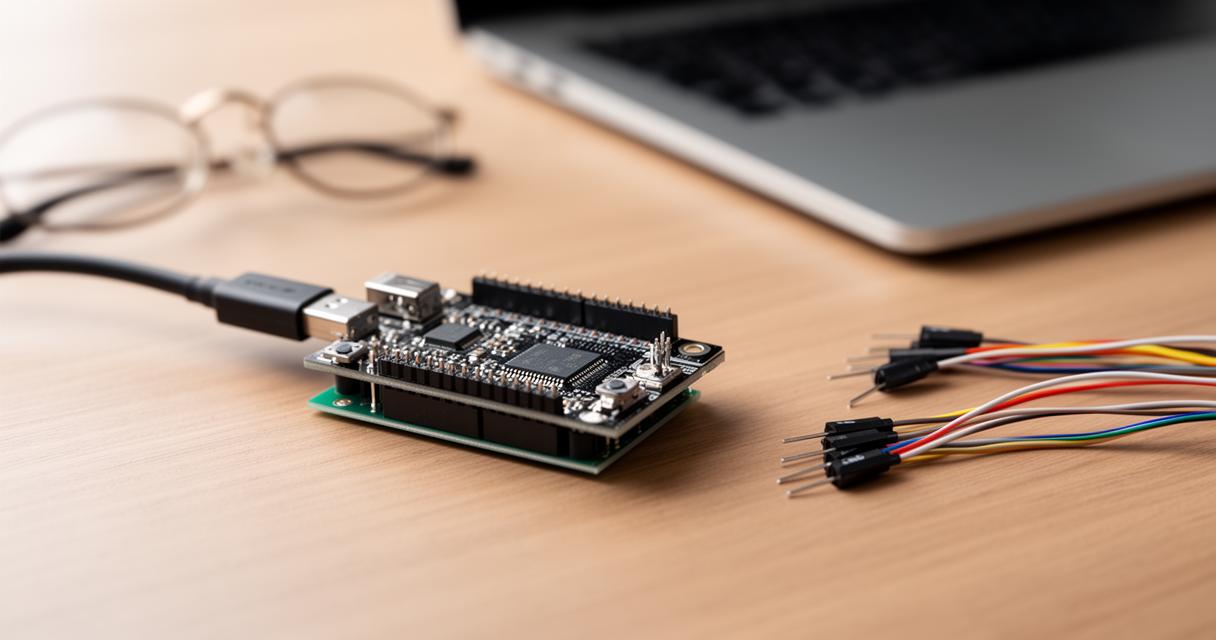
For anything beyond a basic desk project, an AC adapter connected through the board's dedicated power jack is a far sturdier option. This route bypasses USB constraints entirely and can supply the current needed for hungrier components. The key detail to check before plugging anything in is voltage compatibility. Most Arduino boards are designed to accept somewhere between 7V and 12V through this jack, and straying outside that window risks damaging the regulator or the board itself. It is a small detail that is easy to overlook amidst the excitement of a new build, but it is the difference between a project that runs for years and one that fails within a week.
Alternative power solutions: vin pin and battery-based systems
Utilising the Vin Pin for Voltage Input Configuration
The Vin pin offers another route into the board, accepting a similar voltage range to the power jack and proving particularly handy when you are wiring a project into an enclosure without easy access to the jack itself. Feeding regulated voltage through Vin lets the onboard regulator do its job of stepping things down to the 5V or 3.3V that the logic circuitry needs. It is worth double-checking your board's documentation here, since not every variant treats Vin identically, and boards built around the ESP32 power characteristics or NodeMCU architecture sometimes handle input voltage quite differently to a classic Arduino Uno.
Battery power implementation for portable arduino projects
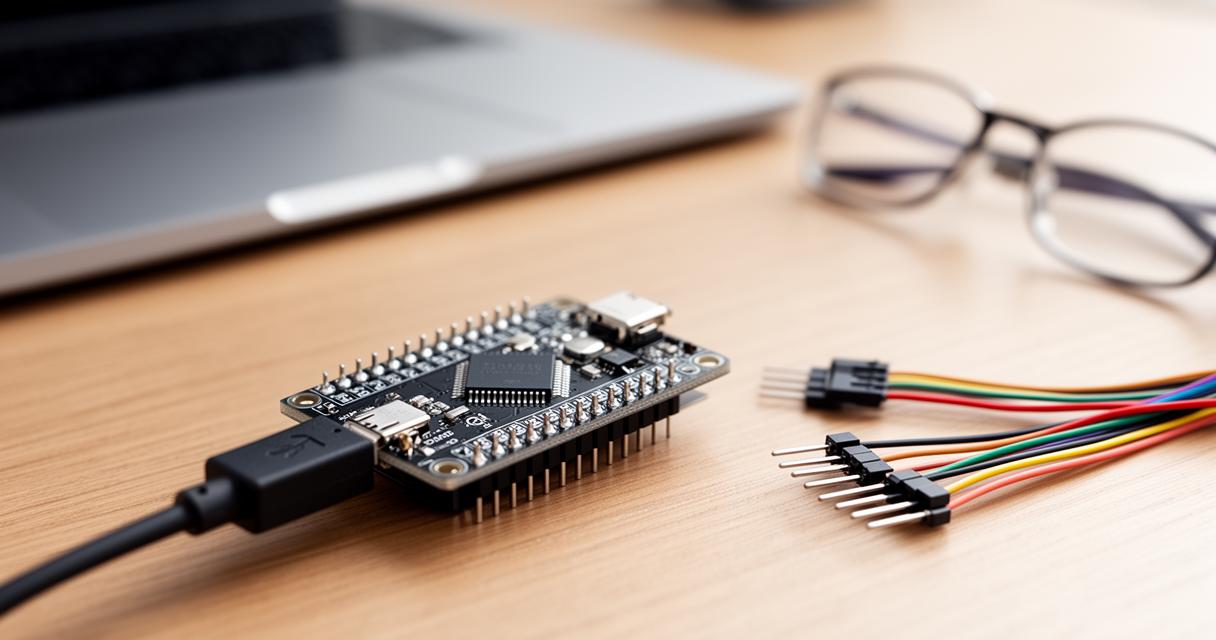
Batteries come into their own when a project needs to wander away from a wall socket. A pack of AA cells, a lithium battery, or even a small sealed lead-acid unit can all work, provided the resulting voltage sits within the board's accepted range. Portable builds involving sensors, small motors, or wireless communication modules tend to favour batteries, though it is sensible to factor in how long the batteries will last given the actual power consumption of everything attached. A project with a rain module sensor, a water level sensor, and a push button might sip very little current at rest, but that changes dramatically once the water pump kicks in.
Optimising Power Delivery for Shields and Power-Intensive Components
Evaluating Power Supply Capacities for Modules and Shields
Adding shields or extra modules onto a board multiplies the demands placed on whatever is supplying power. A mini water pump drawing between 130mA and 220mA during normal running might briefly pull significantly more current at the moment it starts, and that spike can be enough to upset a NodeMCU already juggling a buzzer, four LEDs, and a couple of sensors. This is precisely the kind of situation where relying on a single USB line becomes risky, and where NodeMCU power management needs a bit of forethought. Many experienced builders recommend powering high-current devices such as pumps and relays from a completely separate power supply rather than routing everything through the microcontroller itself. Doing so isolates the sensitive logic circuitry from the electrical noise and voltage sag caused by motors switching on and off, which in turn helps prevent that maddening issue of relays failing to trigger simply because the board's own supply dipped for a moment.
Capacitor integration techniques for stable voltage regulation
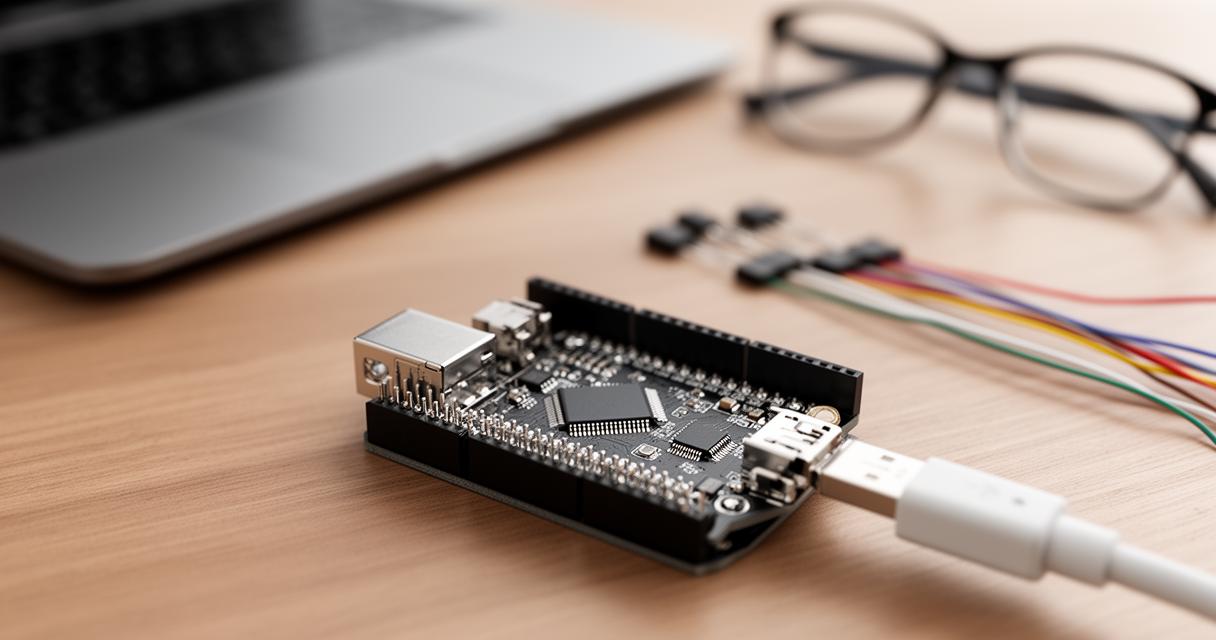
When a full separate supply is not practical, capacitors offer a more modest but genuinely useful fix. Placing a suitably sized capacitor across the power rails near the components that cause the trouble helps smooth out the sudden dips that occur when a buzzer or LED bank switches on. The rough idea behind capacitor sizing is to choose a value large enough to supply that brief burst of current the load needs without waiting on the main supply to catch up, whilst not being so large that it slows down the circuit's response unnecessarily. Electrolytic capacitors in the range of a few hundred microfarads up to a thousand or so are commonly used for this kind of voltage stabilisation, positioned as close as possible to the component causing the disturbance. It is also worth pairing a larger capacitor with a smaller ceramic one nearby, since the ceramic handles fast, tiny fluctuations that the bulkier electrolytic cannot respond to quickly enough. For anyone wiring this onto a custom board rather than a breadboard, understanding PCB manufacturing basics, including surface mount versus through-hole assembly, gerber files, and finishes like immersion gold or HASL lead-free, becomes relevant once a prototype moves from tinkering to something more permanent. Ultimately, whether the fix is a capacitor, a dedicated supply, or a combination of both, the goal remains the same: keeping the 3.3V and 5V rails steady enough that every sensor, LED, and relay behaves exactly as expected, project after project.